
Last updated October 16, 2026
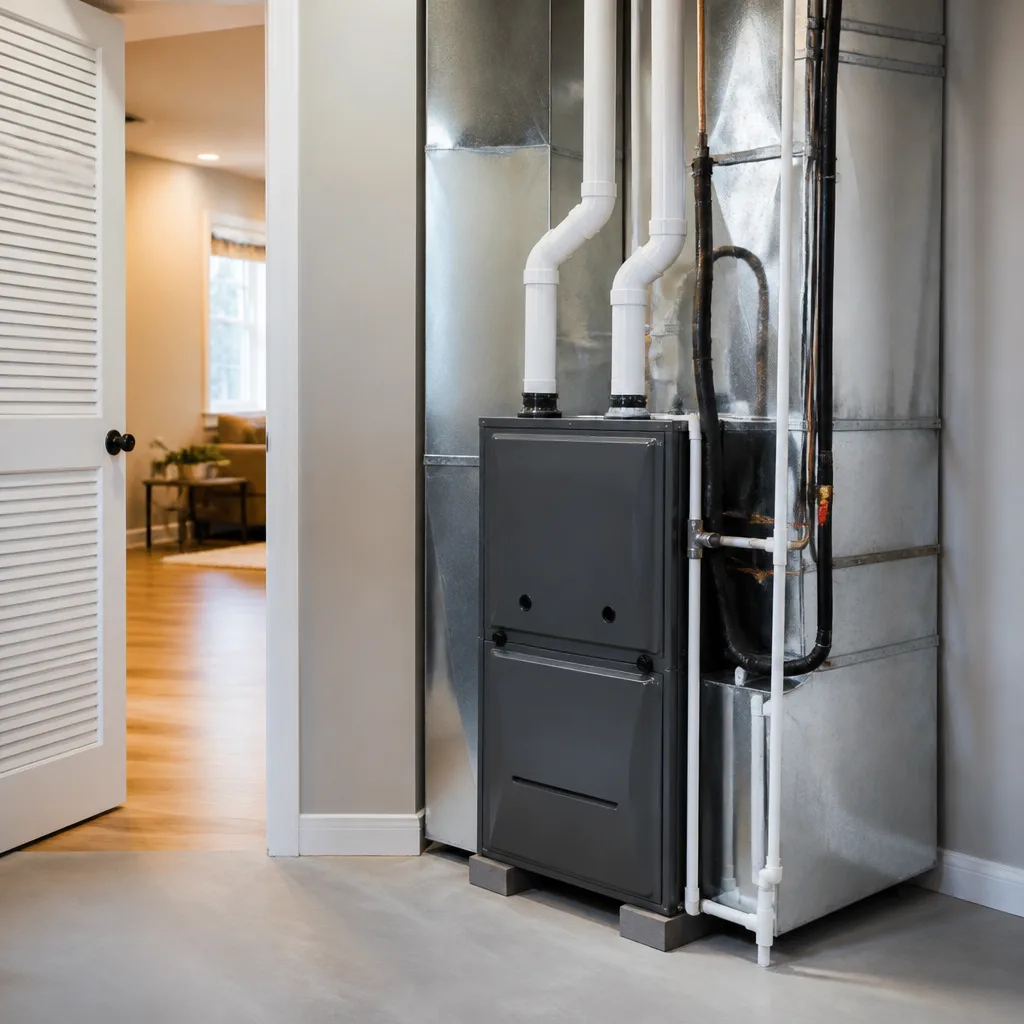 Furnace & heating
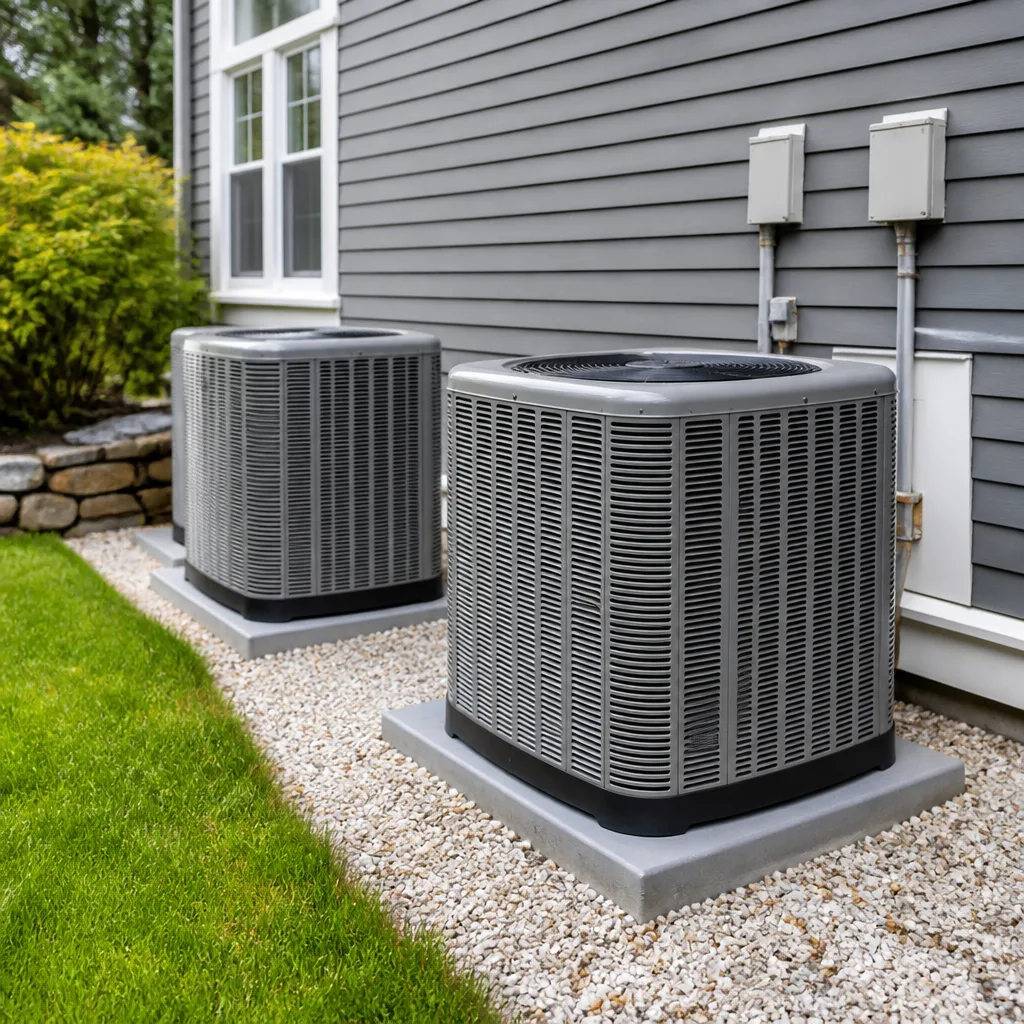 Heat pumps
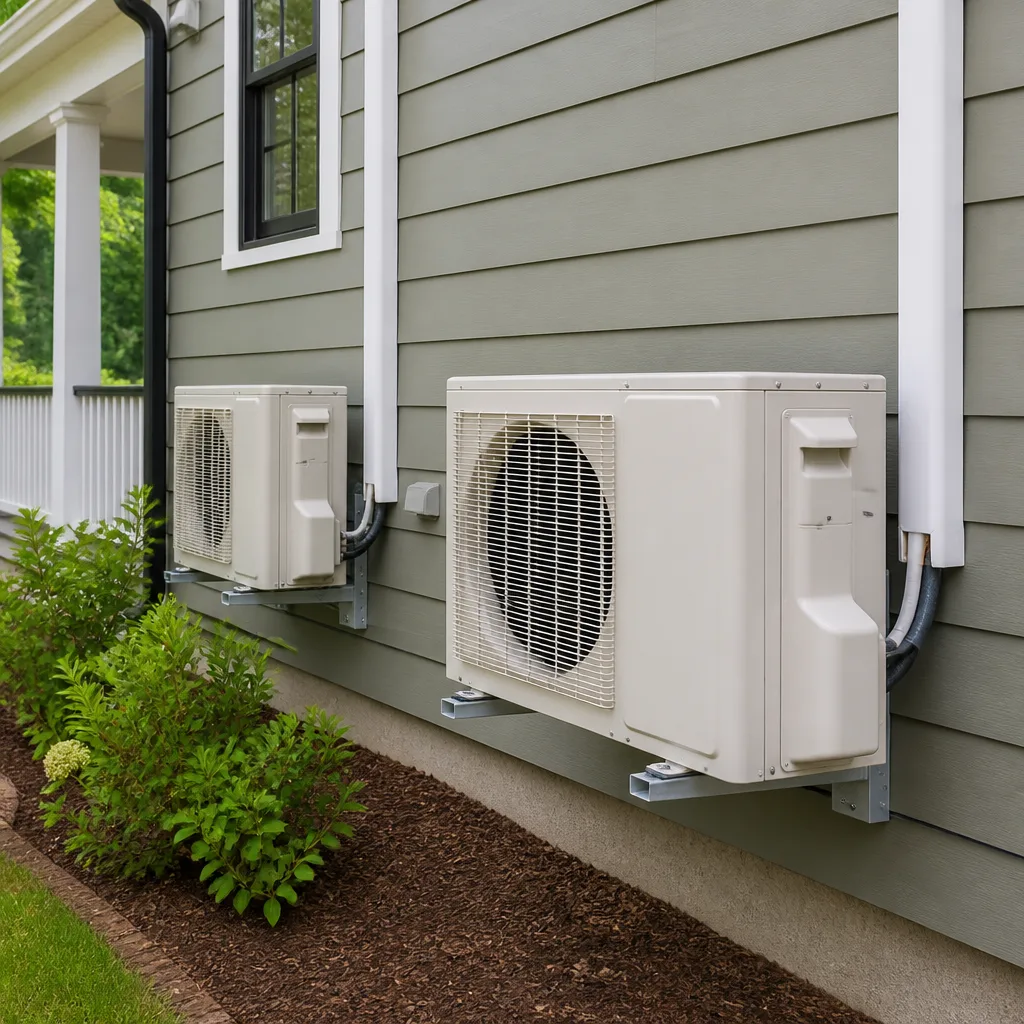 Ductless mini splits
 Carrier
 Trane
Trane Goodman
Seasonal tune-up and full diagnostic on your Carrier, Trane, or Goodman system - readings shown to you before any repair is proposed
Diagnosis first, numbers second - you approve the repair price before a single part goes in.
Get your free estimateAC Repair Maintenance Checklist for San Antonio Homeowners
Here’s a number that should get your attention: a typical San Antonio AC system runs about 2,200 hours a year. The same system in Minneapolis runs about 700. You’re not just maintaining an appliance. You’re maintaining a machine that works three times harder than most AC units in America, in air that carries Hill Country pollen, cedar, construction dust from the I-10 corridor, and summer humidity that spikes into monsoon territory from July through September. This checklist is built for those conditions, not a generic “change your filter” list. By the end, you’ll know exactly which tasks you can handle on a Saturday morning, which ones need a licensed tech, and which San Antonio-specific failure points are eating your efficiency right now. For a deeper look at professional help, see our DIY vs Professional HVAC: The San Antonio Homeowner’s Decision Guide.
Quick Answer
The core AC maintenance checklist for San Antonio homeowners includes: monthly filter checks during peak season, coil cleaning every 30 – 60 days during dust-heavy months, capacitor testing before summer, condensate drain flushing every 60 – 90 days during monsoon season, outdoor unit pad inspection for clay soil settlement, and refrigerant level verification by a licensed tech. Most homeowners can handle the first five tasks; refrigerant, electrical, and compressor work should always go to a professional. Doing these tasks on schedule prevents roughly 80% of the no-cool emergencies we see in July and August.
Styles & brands we work with
Table of Contents
- Filter Replacement: The One Task That Actually Matters
- Coil Cleaning: Why San Antonio’s Dust Load Changes the Schedule
- Capacitor Testing: The August No-Cool Killer
- Condensate Drain: Monsoon Season Protocol
- Outdoor Unit Pad: Expansive Clay Soil Problems
- Refrigerant Levels: Why Low Charge Is a Bigger Deal Here
- Homeowner Task vs. Licensed Tech Task: A Clear Split
Filter Replacement: The One Task That Actually Matters
If you only do one maintenance task all year, change your filter. A clogged filter is the starting point for nearly every expensive AC failure we see in San Antonio. When a filter packs with dust, airflow drops. Reduced airflow means the evaporator coil gets too cold, condensation freezes on it, and the system starts icing up. From there, liquid refrigerant can travel back to the compressor, which is a slow death sentence for the single most expensive component in your system.
In San Antonio, the standard 90-day filter recommendation doesn’t hold up. Here’s why: our air carries a heavier particulate load than most cities. Cedar pollen in December and January, oak pollen in March and April, construction dust year-round from the constant development along Loop 1604, and the fine caliche dust that blows in from the west. That dust doesn’t just sit on the filter surface; it works its way into the pleats and chokes airflow faster than a MERV-13 filter in a cedar season.
San Antonio Filter Schedule That Actually Works
- 1-inch fiberglass filters (the cheap blue ones): Replace every 30 days, no exceptions, during peak cooling season (April through September). They’re only rated to catch large particles anyway, and once they’re visibly dirty, they’re already hurting airflow.
- 1-inch pleated filters (MERV 8 – 11): Check monthly, replace every 45 – 60 days during peak cooling. If you run a MERV 11 or higher, check more often – those tight pleats clog faster in San Antonio’s dust load.
- 4-inch media filters (MERV 11 – 13): These last 6 – 12 months in most climates. In San Antonio, plan on 4 – 6 months, especially if you live near active construction in areas like Cibolo, Schertz, or the far west side.
- Household with pets: Cut every interval above by about 25%. Pet dander and hair combine with dust to clog filters faster than anything else.
The test is simple: hold the filter up to a light. If you can’t see light through it clearly, replace it, no matter what the calendar says. Filters cost $5 – $25. A compressor costs $2,500 – $5,000. Do the math.
Coil Cleaning: Why San Antonio’s Dust Load Changes the Schedule
Manufacturer maintenance charts typically recommend evaporator coil cleaning once a year. That’s a reasonable baseline for a system in, say, Seattle, where airborne dust is minimal. It’s not enough for San Antonio. Here’s what we see in the field: a system that ran fine in June starts losing cooling capacity in August, and when we open the coil cabinet, the top of the evaporator coil looks like it’s wearing a wool coat. That layer of packed dust and pollen acts as an insulator. The coil can’t absorb heat, the refrigerant can’t boil properly, and the system has to run longer to hit the thermostat setpoint. That’s not just an efficiency problem. That’s accelerated wear on every component.
The evaporator coil is the indoor coil, usually located inside the air handler or furnace cabinet. The condenser coil is the outdoor coil, wrapping around the outside unit. Both get dirty in San Antonio, but they get dirty in different ways and on different schedules.
San Antonio Coil Cleaning Schedule
- Outdoor condenser coil: clean every 30 – 60 days during peak season. The outdoor unit is pulling air through those fins constantly, and that air carries cottonwood fluff in May, grass clippings all summer, and dust from every direction. A dirty condenser coil raises head pressure, which raises compressor temperature, which shortens compressor life. Rinse it with a garden hose (gentle spray, not full pressure, and never a pressure washer).
- Indoor evaporator coil: inspect every 6 months, clean as needed. This one is trickier because it’s behind panels and requires care. If your filter has been doing its job, the evaporator coil should stay relatively clean. But if you’ve ever run the system with a dirty filter for a month or two, that dust is now on the coil. A coil cleaning by a pro involves removing panels, applying a foaming cleaner, and rinsing without flooding the cabinet.
- After any major windstorm or haboob: San Antonio gets dust storms several times a year, usually in spring and early fall. If you see a brown sky, go check your outdoor unit afterward. A heavy dust deposit on the coil fins is exactly the kind of thing that silently reduces capacity.
One more thing specific to San Antonio: if you have oak trees anywhere near your outdoor unit, check the coil for pollen in March and April. Oak pollen is sticky and doesn’t wash off with water alone. It needs a coil cleaner designed for the job. A tech can handle that during a maintenance visit, or you can buy a foaming coil cleaner at any hardware store. Just follow the instructions and kill the power first.
Capacitor Testing: The August No-Cool Killer
The capacitor is a small cylindrical component inside the outdoor unit. It stores and releases the electrical charge that gets the compressor and fan motor spinning. And in San Antonio, it fails more often than anywhere else we know of. The reason is heat. Capacitors are rated for a certain operating temperature, and when the outdoor unit sits in full afternoon sun on a 104°F day with a heat-soaked concrete pad, the capacitor inside is cooking at 140°F or more. Add the electrical stress of repeated compressor starts during peak cooling season, and you have a component that’s quietly degrading even when it’s working fine.
Most capacitors fail without warning. The system runs fine on Tuesday, and on Wednesday the compressor hums for five seconds and cuts out, or the fan won’t spin, or nothing happens at all. When that happens in August, you’re waiting in a hot house while the tech drives across town, and that’s the same week everyone else’s capacitor died too.
How to Check a Capacitor Before It Fails (and Whether You Should)
- Kill the power at the disconnect. There’s a gray box near the outdoor unit with a handle or a lever. Pull it out or flip it. If you’re not 100% sure how to do this safely, stop here and call a pro. The capacitor holds a charge even with the power off, and touching the terminals is genuinely dangerous. It can deliver a serious shock.
- Remove the access panel. The capacitor looks like a small metal or plastic cylinder with two or three terminals on top, usually silver or gray.
- Look at the top and sides. A swollen, bulging, or split capacitor is done. It needs replacement. A healthy capacitor has a flat top and straight sides.
- Use a multimeter with capacitance setting, if you have one. Discharge the capacitor safely (a tech uses a resistor or insulated screwdriver), remove the wires, and test the microfarad (µF) reading against the rating printed on the side. If it’s more than 10% off the rated value, replace it.
Here’s the honest guidance: visually checking for a bulging capacitor is a reasonable homeowner task. Testing with a multimeter is a reasonable homeowner task if you’re comfortable with electrical work. But if any part of that makes you nervous, this is a $150 – $300 repair with parts and labor included, and it’s the single best insurance policy against an August no-cool emergency. We recommend having a capacitor test done in April or May, before the first sustained heat wave. It takes five minutes, and if the capacitor is weak, you’re replacing it on your schedule instead of during a heat emergency.
Condensate Drain: Monsoon Season Protocol
Every time your AC runs, it pulls moisture from the air. In San Antonio, that’s a lot of moisture. During July, August, and September, when the Gulf humidity flows in and we get the afternoon storms, a typical system can produce 5 to 15 gallons of condensate per day. All of that water has to drain somewhere. It flows from the evaporator coil into the condensate pan, then through the drain line, usually to a plumbing pipe or outside. When that drain line clogs, the pan fills, the float switch (if you have one) shuts the system down, and you have no AC. If you don’t have a float switch, the pan overflows and you have water damage.
What clogs the drain? Algae and biofilm. The inside of a drain line is dark, wet, and warm, which is exactly the environment where algae grows. In San Antonio’s monsoon months, the growth accelerates because the line is continuously wet. Dust that gets past the filter also ends up in the condensate, mixing with the slime and forming a paste that can plug the line completely.
Condensate Drain Maintenance for San Antonio’s Monsoon Season
- Find the drain line exit. It’s usually a white PVC pipe sticking out of the wall near the indoor unit, or a pipe dripping outside near the condenser. If you can see it, you can maintain it.
- Pour 1 cup of white vinegar through the line every 60 – 90 days. Vinegar is acidic enough to kill algae and break up the biofilm without harming the PVC or your plumbing. During July – September, do it every 45 – 60 days. If you want a stronger option, a cup of warm water mixed with a few drops of dish soap works, or you can use a commercial drain cleaner designed for AC lines (not a household drain cleaner like Drano, which can damage the line).
- Check the drip location during peak cooling. If your system is running and you see no water dripping outside, or if you see water pooling around the indoor unit, the line may already be clogged.
- If the line is clogged, shut the system off and call a professional. A tech can blow out the line with compressed air or nitrogen, or use a wet-dry vac from the outside end to pull the clog free. This is a $75 – $150 service call, and it’s a fraction of what water damage remediation costs.
One thing specific to older San Antonio homes: many houses in neighborhoods like Terrell Hills, Alamo Heights, and the near East Side were built before condensate drains were standard, and some have drains that terminate directly under the house or in a crawl space. If you live in one of those homes, check that the line is actually draining outside and not just into the crawl space. A clogged line on a pier-and-beam house can mean standing water under the house, which brings mold, pests, and foundation issues.
Outdoor Unit Pad: Expansive Clay Soil Problems
This is a San Antonio-specific issue that most national checklists never mention. Here’s the situation: much of north and northwest San Antonio sits on expansive clay soil. If you drive through Stone Oak, Helotes, or the area around I-10 and Camp Bullis, you’re looking at homes built on soil that swells when wet and shrinks when dry. That movement is hard on foundations, but it’s also hard on the concrete or composite pad that holds your outdoor AC unit.
Over several years of wet/dry cycles, the pad under the outdoor unit can settle unevenly. One corner sinks a half inch. Then an inch. Now the compressor inside the unit is no longer level. That might not sound like a big deal, but compressors and fan motors are designed to run level. When the unit tips, the oil inside the compressor pools to one side, which can starve the bearings. Fan blades can rub against the housing. Copper lines get stressed and can eventually crack, which means a refrigerant leak. All of this from a slightly tilted pad.
How to Check Your Outdoor Unit Pad
- Put a level on top of the outdoor unit. A basic torpedo level from any hardware store works. Check front-to-back and side-to-side. If it’s off level by more than about half an inch over the width of the unit, it’s worth a closer look.
- Look at the space under the pad. Can you see daylight under one corner? Can you see a gap between the pad and the soil on one side? That’s settlement.
- Look for stress on the copper lines. The pair of copper pipes running from the outdoor unit into the house should be free of sharp bends or places where they’re being pulled. A settling pad can pull on those lines.
- If the pad has settled, call a professional. Fixing this isn’t a homeowner job. The unit has to be supported, the pad lifted or re-leveled, and sometimes a new pad poured or a composite pad installed. A tech can do a simple re-level with shims on a minor settlement, but significant movement means the pad was never properly prepared. Budget $150 – $400 for a re-level, more if a new pad is needed.
If you’re buying a home in north or northwest San Antonio, put this on your inspection list. The home inspector may not catch it. A slightly tilted AC pad is a negotiation point, and it’s much cheaper to fix before you move in than after a compressor fails in August.
Refrigerant Levels: Why Low Charge Is a Bigger Deal Here
Refrigerant, sometimes called Freon (a brand name, like Kleenex for tissues), is the fluid that moves heat out of your home. It runs in a closed loop between the indoor and outdoor units. In a healthy system, that loop is sealed, and the refrigerant level stays the same for the life of the system. If the level drops, it’s because there’s a leak. There is no other reason.
Here’s the thing that surprises most homeowners: an AC system running slightly low on refrigerant can still blow cold air on a mild day. It might even keep the house comfortable through May. But when San Antonio hits triple digits in July and August, that same system can’t keep up. The compressor runs nonstop. The air coming from the vents is 70°F instead of 55°F. The system is working harder than it was designed to, and the compressor is overheating. Low refrigerant also makes the evaporator coil run too cold, which can cause icing, which compounds the problem.
Signs Your Refrigerant Is Low
- Air from the vents is cool but not cold, especially when the outdoor temperature is above 95°F.
- The system runs constantly during the day but the house never reaches the thermostat setpoint.
- There’s ice on the insulated copper line (the larger of the two copper pipes) leading into the outdoor unit.
- Your electricity bills are noticeably higher than last summer for the same thermostat settings.
- The outdoor unit sounds different, often with a hissing or bubbling noise from the refrigerant lines.
Refrigerant handling is a licensed technician job. It’s not a DIY task. Federal regulations require EPA Section 608 certification to buy or handle refrigerant, and for good reason – the chemicals are under pressure and can cause serious frostbite injuries if mishandled. What the tech will do is check the pressures on both sides of the system, find the leak, repair it, and recharge to the manufacturer’s spec. A basic recharge without leak repair runs $200 – $400, but that’s a band-aid. If there’s a leak, the correct repair is to find it, fix it, and then recharge. That can run $500 – $1,500 depending on the leak location, with the high end being an evaporator coil replacement.
If your system is more than 10 years old and uses R-22 refrigerant (the old kind that was phased out in 2020), replacing it may be cheaper long-term than repairing leaks repeatedly. R-22 is now incredibly expensive, and prices keep climbing. A full recharge can exceed $1,000, and that’s money going into a system that’s past its design life. Newer systems use R-410A, which is more affordable and better for the environment.
Homeowner Task vs. Licensed Tech Task: A Clear Split
Here’s the most important section of this checklist, because it answers the question every homeowner actually has: what can I do myself, and what should I hand off? For additional help, explore our more guides & resources. Getting this wrong in either direction is costly. Doing a task you shouldn’t can hurt you or damage the system. Paying a pro for a task you could handle in ten minutes is money wasted.
Homeowner Tasks (Safe, Simple, High Value)
- Filter changes: Do this yourself. It takes 2 minutes, requires no tools, and is the highest-impact maintenance task you have.
- Outdoor coil rinsing: Kill the power, spray gently with a garden hose, let it dry. If you can use a hose, you can do this.
- Condensate drain vinegar flush: Pour, wait, done. This is a $2 preventive that prevents a $150 service call.
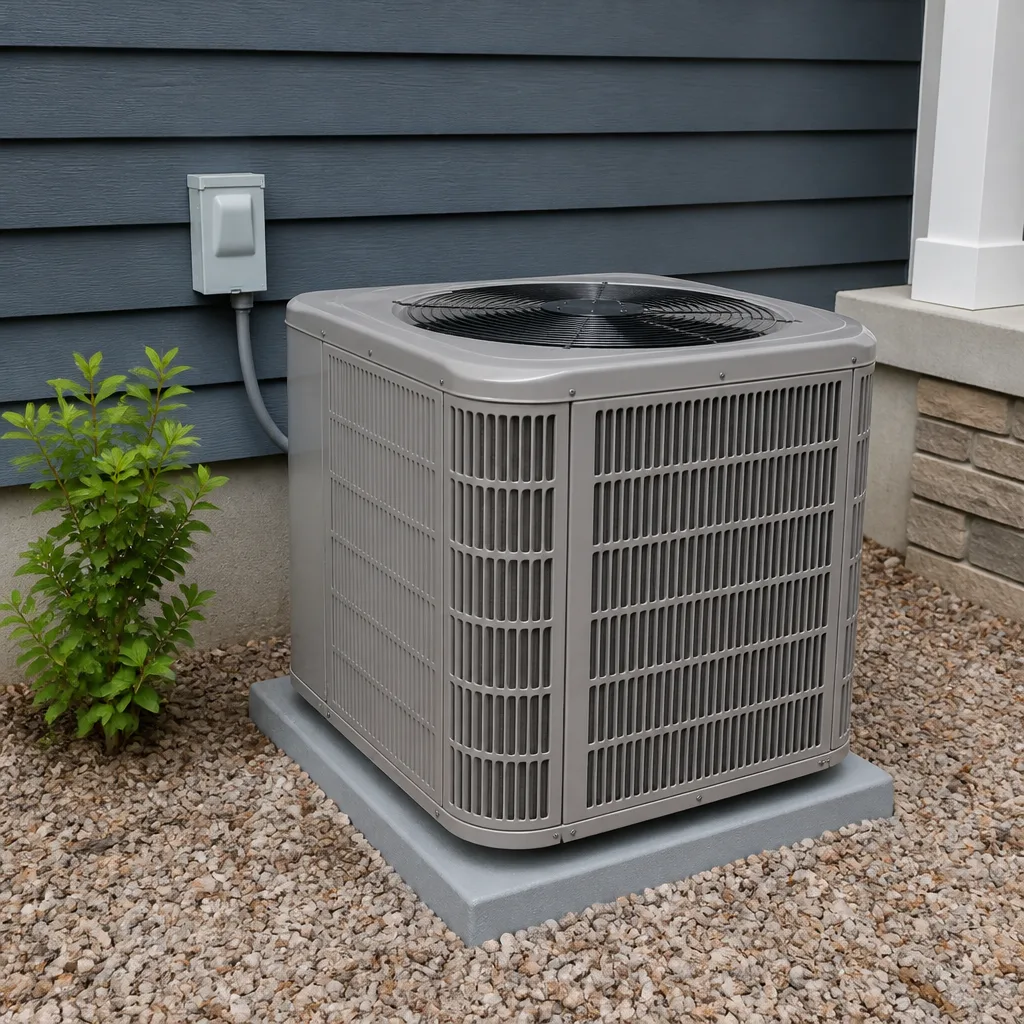
- Visual inspection of the outdoor unit: Look for debris, weeds, dog urine (a real problem for coil health), leaning, and bent fins. Catch problems before they become failures.
- Thermostat battery replacement: If your thermostat is battery-powered, replace the batteries annually. A dead thermostat battery is one of the most common no-heat/no-cool calls in any season.
- Clearing debris from around the outdoor unit: Keep at least 18 inches of clearance on all sides. Trim back vegetation. Don’t let grass clippings blow into the coil.
Licensed Tech Tasks (Electrical, Refrigerant, Combustion, High-Risk)
- Refrigerant checks and recharge: Requires EPA certification. Never a DIY job.
- Capacitor testing and replacement: The capacitor holds a charge that can seriously injure you. A visual inspection for bulging is fine; replacement is a tech job.
- Electrical panel and wiring inspection: Loose connections cause arcing, which causes fires. If you see scorch marks or smell burning plastic, call a pro immediately.
- Compressor and fan motor replacement: These are major components. Handling them wrong can damage the system or void a warranty.
- Evaporator or condenser coil replacement: This is involved component-level work. Not a weekend project.
- Ductwork inspection and sealing: Requires accessing spaces that are hot, tight, and sometimes dangerous. A professional has the tools and knows what to look for.
One thing we want to be clear about: we’ve seen homeowners do some of these “tech tasks” and get away with it. We’ve also seen a homeowner touch a charged capacitor terminal and end up in the ER. The line we sketch here isn’t about protecting our industry. It’s about protecting you. Some of these components genuinely can hurt you, and some of these repairs genuinely require training and licensing to do legally and correctly. When in doubt, call. A service call costs $75 – $150. A hospital visit costs a lot more than that, and a botched repair that destroys a compressor costs $2,500 – $5,000.
Common Mistakes to Avoid
- Changing the filter only when the calendar says to. San Antonio’s dust load doesn’t follow a 90-day schedule. If the filter looks dirty at 45 days, change it at 45 days.
- Using a pressure washer on the outdoor coil. The fins on a condenser coil are delicate. A pressure washer folds them flat, reducing airflow and capacity. Use a garden hose with a gentle spray.
- Closing vents in unused rooms. This is a myth that refuses to die. Closing vents raises static pressure, which makes the blower work harder and can cause the evaporator coil to freeze. Keep vents open.
- Setting the thermostat to 68°F on a 105°F day. A properly functioning system can do 20 – 25 degrees below outdoor temperature. Asking for more than that means the system runs constantly and never satisfies. 75 – 78°F is realistic on triple-digit days.
- “Recharging” refrigerant without fixing a leak. If a tech offers to just add refrigerant without finding the leak, that’s a red flag. The leak will return, and you’ll pay again. Some leaks are slow and hard to find, but a quality tech will at least attempt a leak search.
- Forgetting the breaker. Before any work on the outdoor unit, kill the power at the breaker and at the disconnect. A 240-volt shock is not a learning experience you want.
- Ignoring the condensate drain because the system is still cooling. A slow-building clog doesn’t stop cooling until it’s fully blocked. By then, you might have water damage. Maintain the line proactively.
See the difference
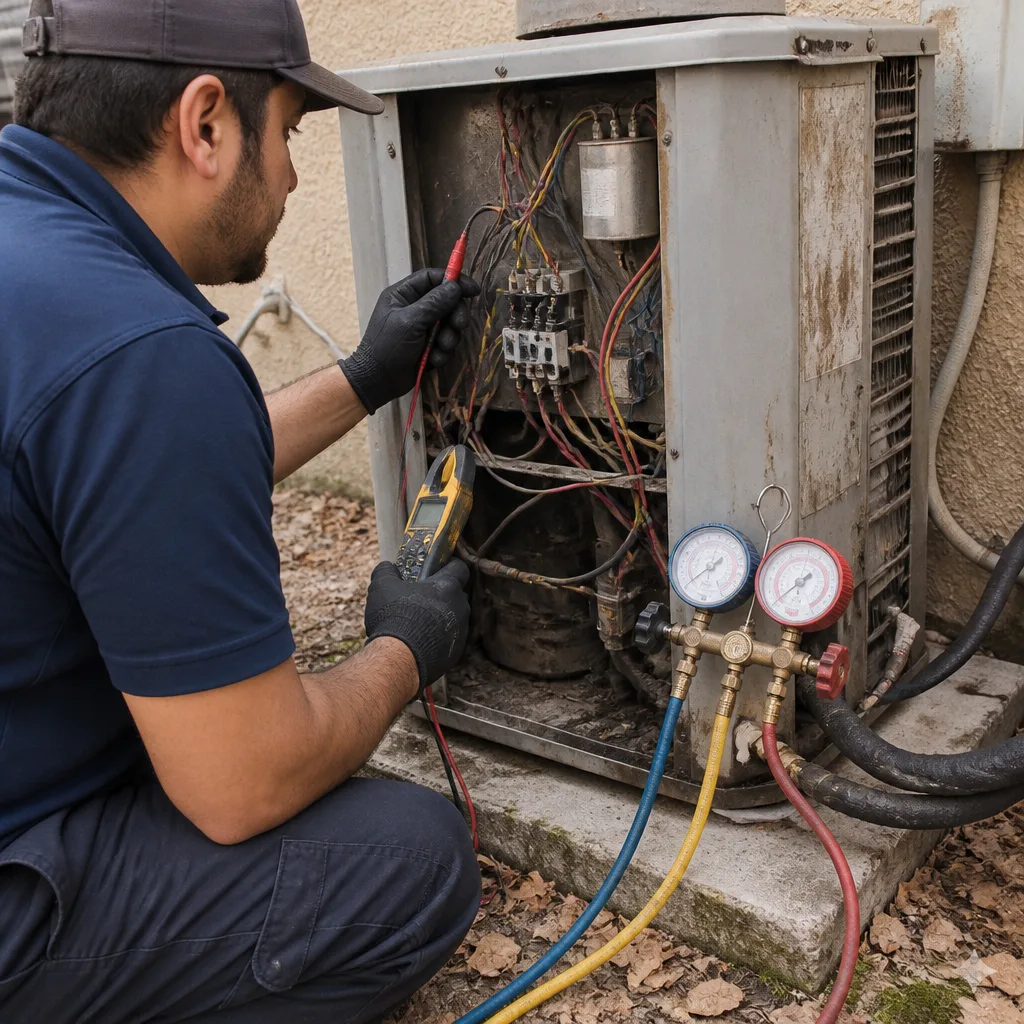 Before
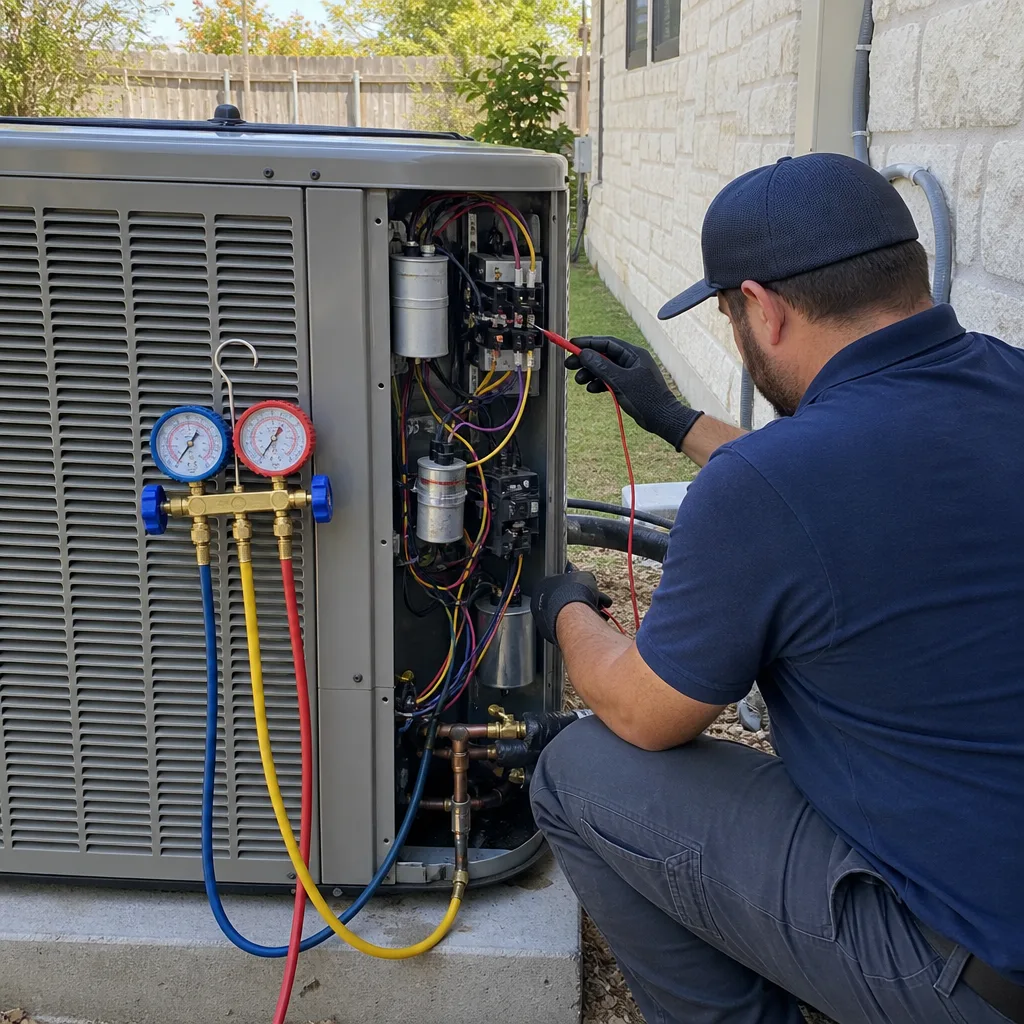 After
After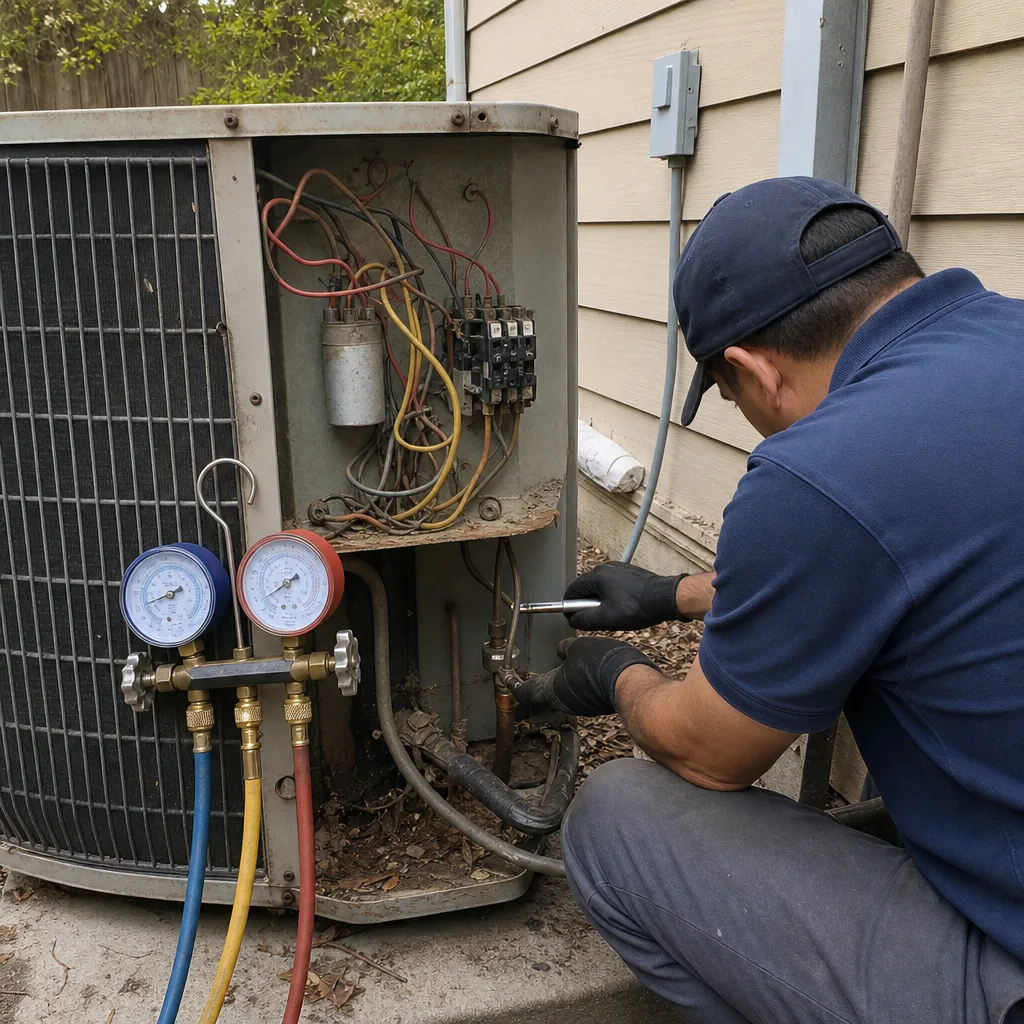 Before
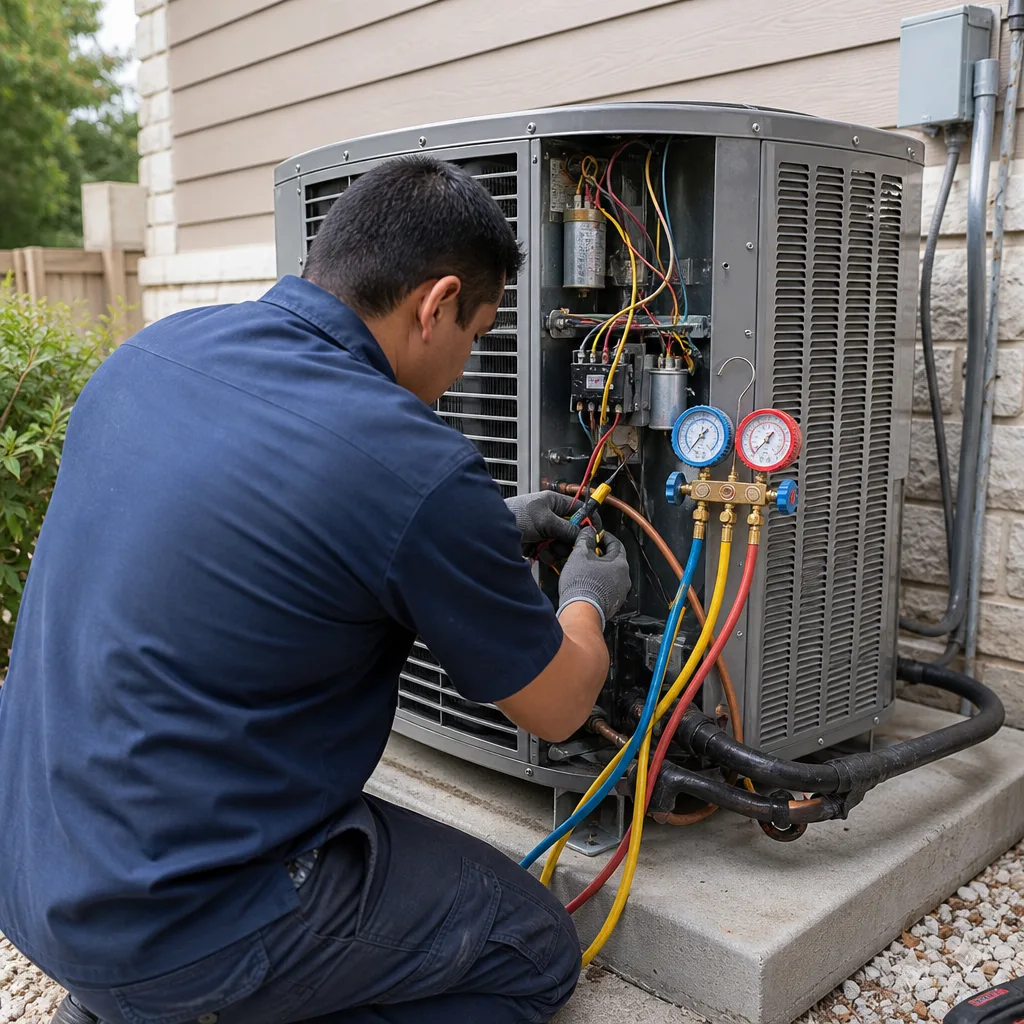 After
After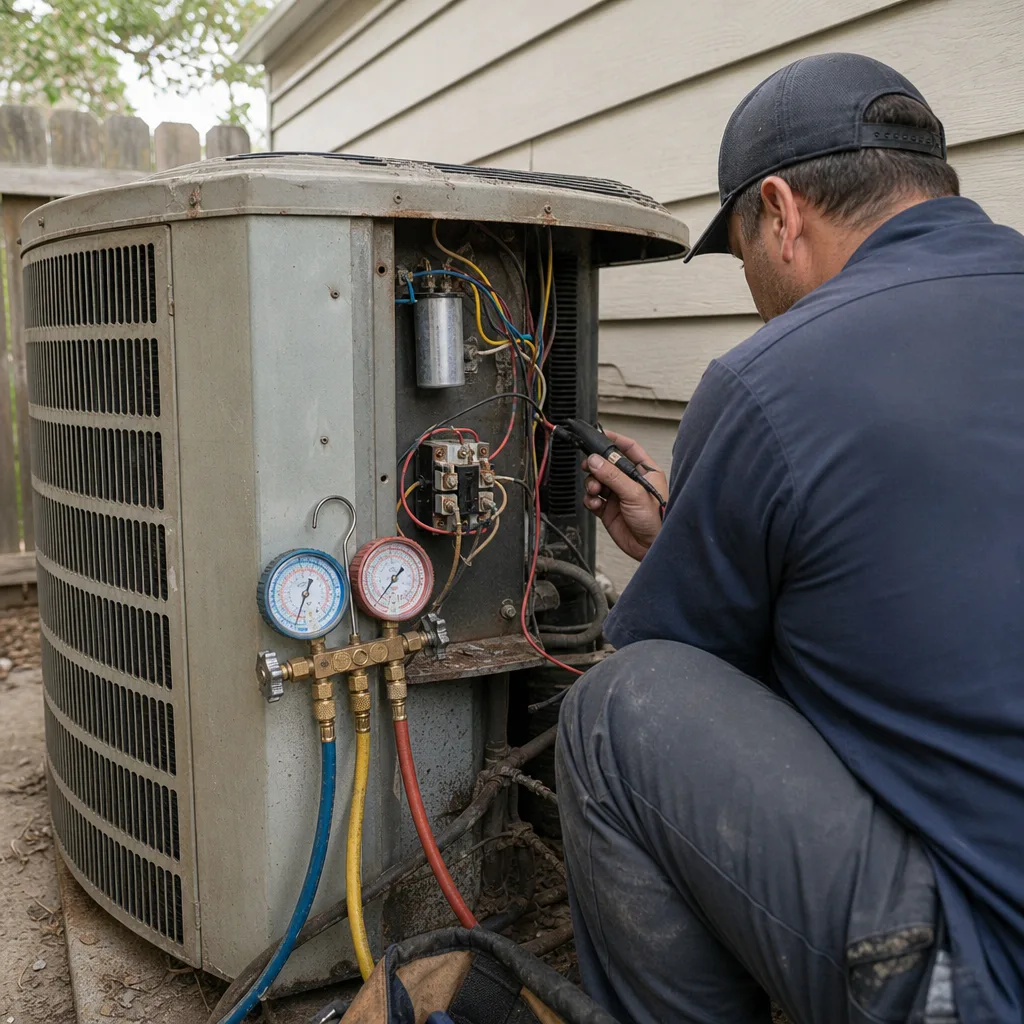 Before
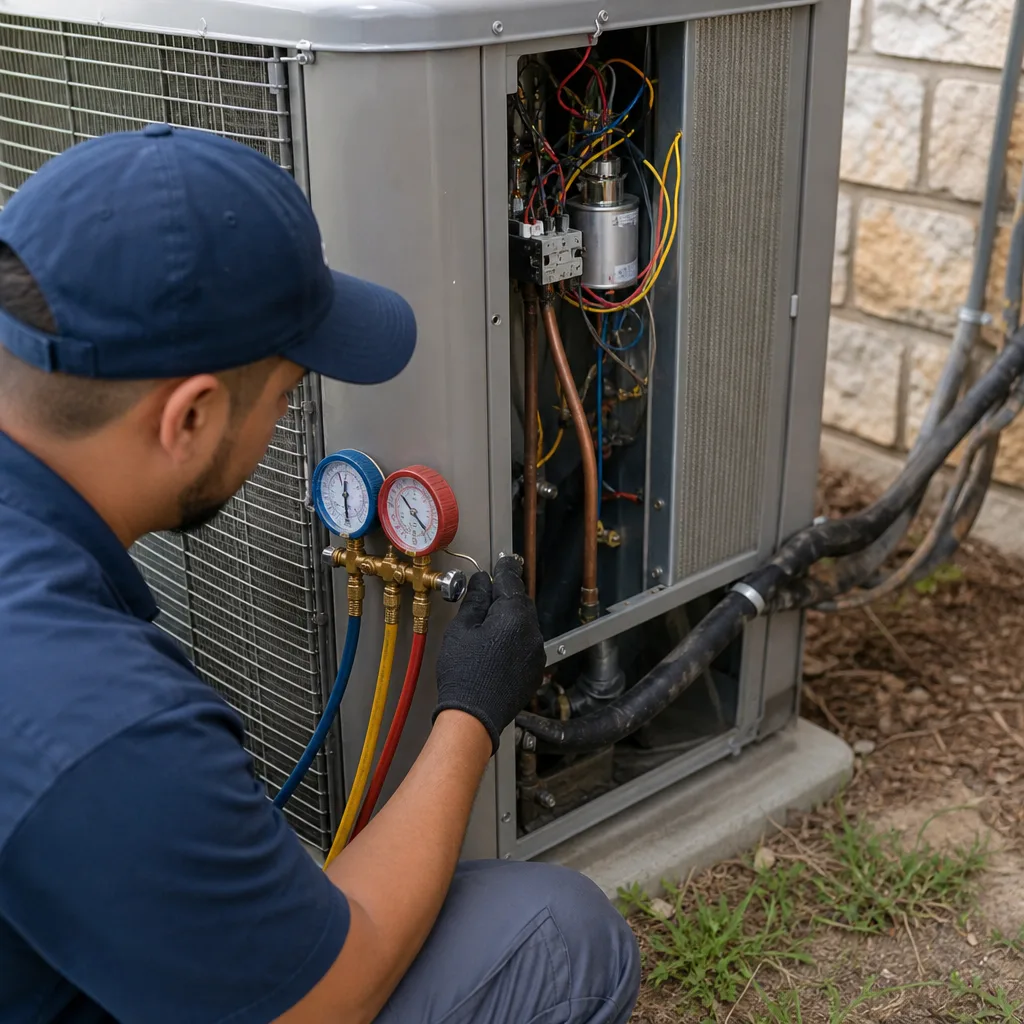 After
AfterWhen to Call a Professional
Some situations simply aren’t homeowner work, and the smartest move is to pick up the phone. If your system is blowing warm air on a hot day and the outdoor unit is running but the copper line isn’t cold to the touch, you likely have a refrigerant issue. If the breaker trips more than once, there’s an electrical short or an overloaded compressor. If you hear grinding, squealing, or banging from the outdoor unit, that’s a mechanical failure in progress. If you see ice anywhere on the system, shut it off and call. If water is pooling around the indoor unit tray or leaking through the ceiling below a second-floor unit, shut it off and call. Any of these are signs that continued operation will make the repair more expensive. AC Repair in San Antonio from Brandt HVAC Co San Antonio starts with a free estimate and a written price before any work begins. Call (361) 470-8872.
Frequently Asked Questions
Every 30 days for basic fiberglass filters during peak cooling season (April through September), and every 45-60 days for pleated filters. San Antonio’s dust, cedar, and construction particulate load is significantly heavier than what national filter guidance assumes. If the filter looks dirty when you check it, change it regardless of the calendar. A clogged filter is the starting point for most expensive AC failures.
You can visually inspect the capacitor for bulging or splitting, which takes five minutes and requires no tools. Testing it with a multimeter is also possible for a homeowner comfortable with electrical work, but the capacitor holds a dangerous charge even with the power off. If you’re not sure, this is a $150-$300 job with parts and labor included, and it’s the single best preventive against an August no-cool emergency. Call (361) 470-8872 for a capacitor test before summer.
The clearest signs are: cool but not cold air from the vents on hot days, the system running constantly without reaching the thermostat setpoint, ice on the larger copper line entering the outdoor unit, and electricity bills noticeably higher than last summer. Refrigerant doesn’t get used up; if it’s low, there’s a leak. A licensed tech can find and repair the leak, then recharge to factory spec. Budget $500-$1,500 for leak repair, more if the evaporator coil needs replacement.
San Antonio’s high humidity from July through September means your system produces 5-15 gallons of condensate per day. The combination of warmth, moisture, and dust creates algae and biofilm inside the drain line faster than in drier climates. Pouring one cup of white vinegar through the line every 45-60 days during monsoon season prevents most clogs. If the line clogs anyway, shut the system off and call a professional.
Yes. A settling pad, common on San Antonio’s expansive clay soils in areas like Stone Oak and Helotes, causes the compressor to run off-level. That can starve the compressor’s bearings of oil and cause premature failure. It can also stress the copper refrigerant lines and cause leaks. If you can see daylight under one corner of the pad or a level shows more than half an inch of tilt, call a professional for a re-level. Budget $150-$400.
If your system is more than 12 years old, uses R-22 refrigerant, and the repair estimate is more than 40% of the cost of a new system, replacement usually makes more financial sense. R-22 is phased out and increasingly expensive, older systems run at 10-13 SEER efficiency (new systems run 16-20+), and major repairs on aging equipment often lead to more repairs. A written quote from Brandt HVAC Co San Antonio will show both options side by side. Call (361) 470-8872 for a free estimate.
The Bottom Line
San Antonio AC systems work harder than almost any other AC systems in the country, and maintenance schedules written for milder climates simply don’t apply here. The tasks that matter most are the ones tied to our specific failure patterns: filters clogging faster from dust and pollen, capacitors failing from extreme heat stress, drains clogging during monsoon humidity, and pads settling on expansive clay soils. Do the homeowner tasks on schedule. Hand off the licensed work. And if you ever have a question about what you’re looking at, call a professional. A $100 service call that prevents a $3,000 compressor failure is the best money you’ll spend on your system this year. AC Maintenance in San Antonio is available from Brandt HVAC Co San Antonio with a written price before work begins, every time. Call (361) 470-8872 for a free estimate.
Written by Devin Marlowe, Owner at Brandt HVAC Co San Antonio, serving San Antonio since 2003.